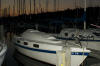
On September 19th, 2008, we bought a 1976 Tanzer 26 needing some attention; #159.
Over the past 3-4 years, we have brought back to life with upgrades and
improvements. The Tanzer 26 brochure put it this way: "This boat offers
qualities that will appeal to the cruising family as well as the racing skipper.
She provides both speed and responsiveness that is quite unusual for a
production boat. But she is not just a fast sailboat that wins races. Her
expansive and comfortable interior as well as forgiving nature make her a safe
and easily handled cruising boat for the family. Quite rugged too; Tanzer 26 no.
226 sailed the North Atlantic from New York to Lorient France in 29 days.".
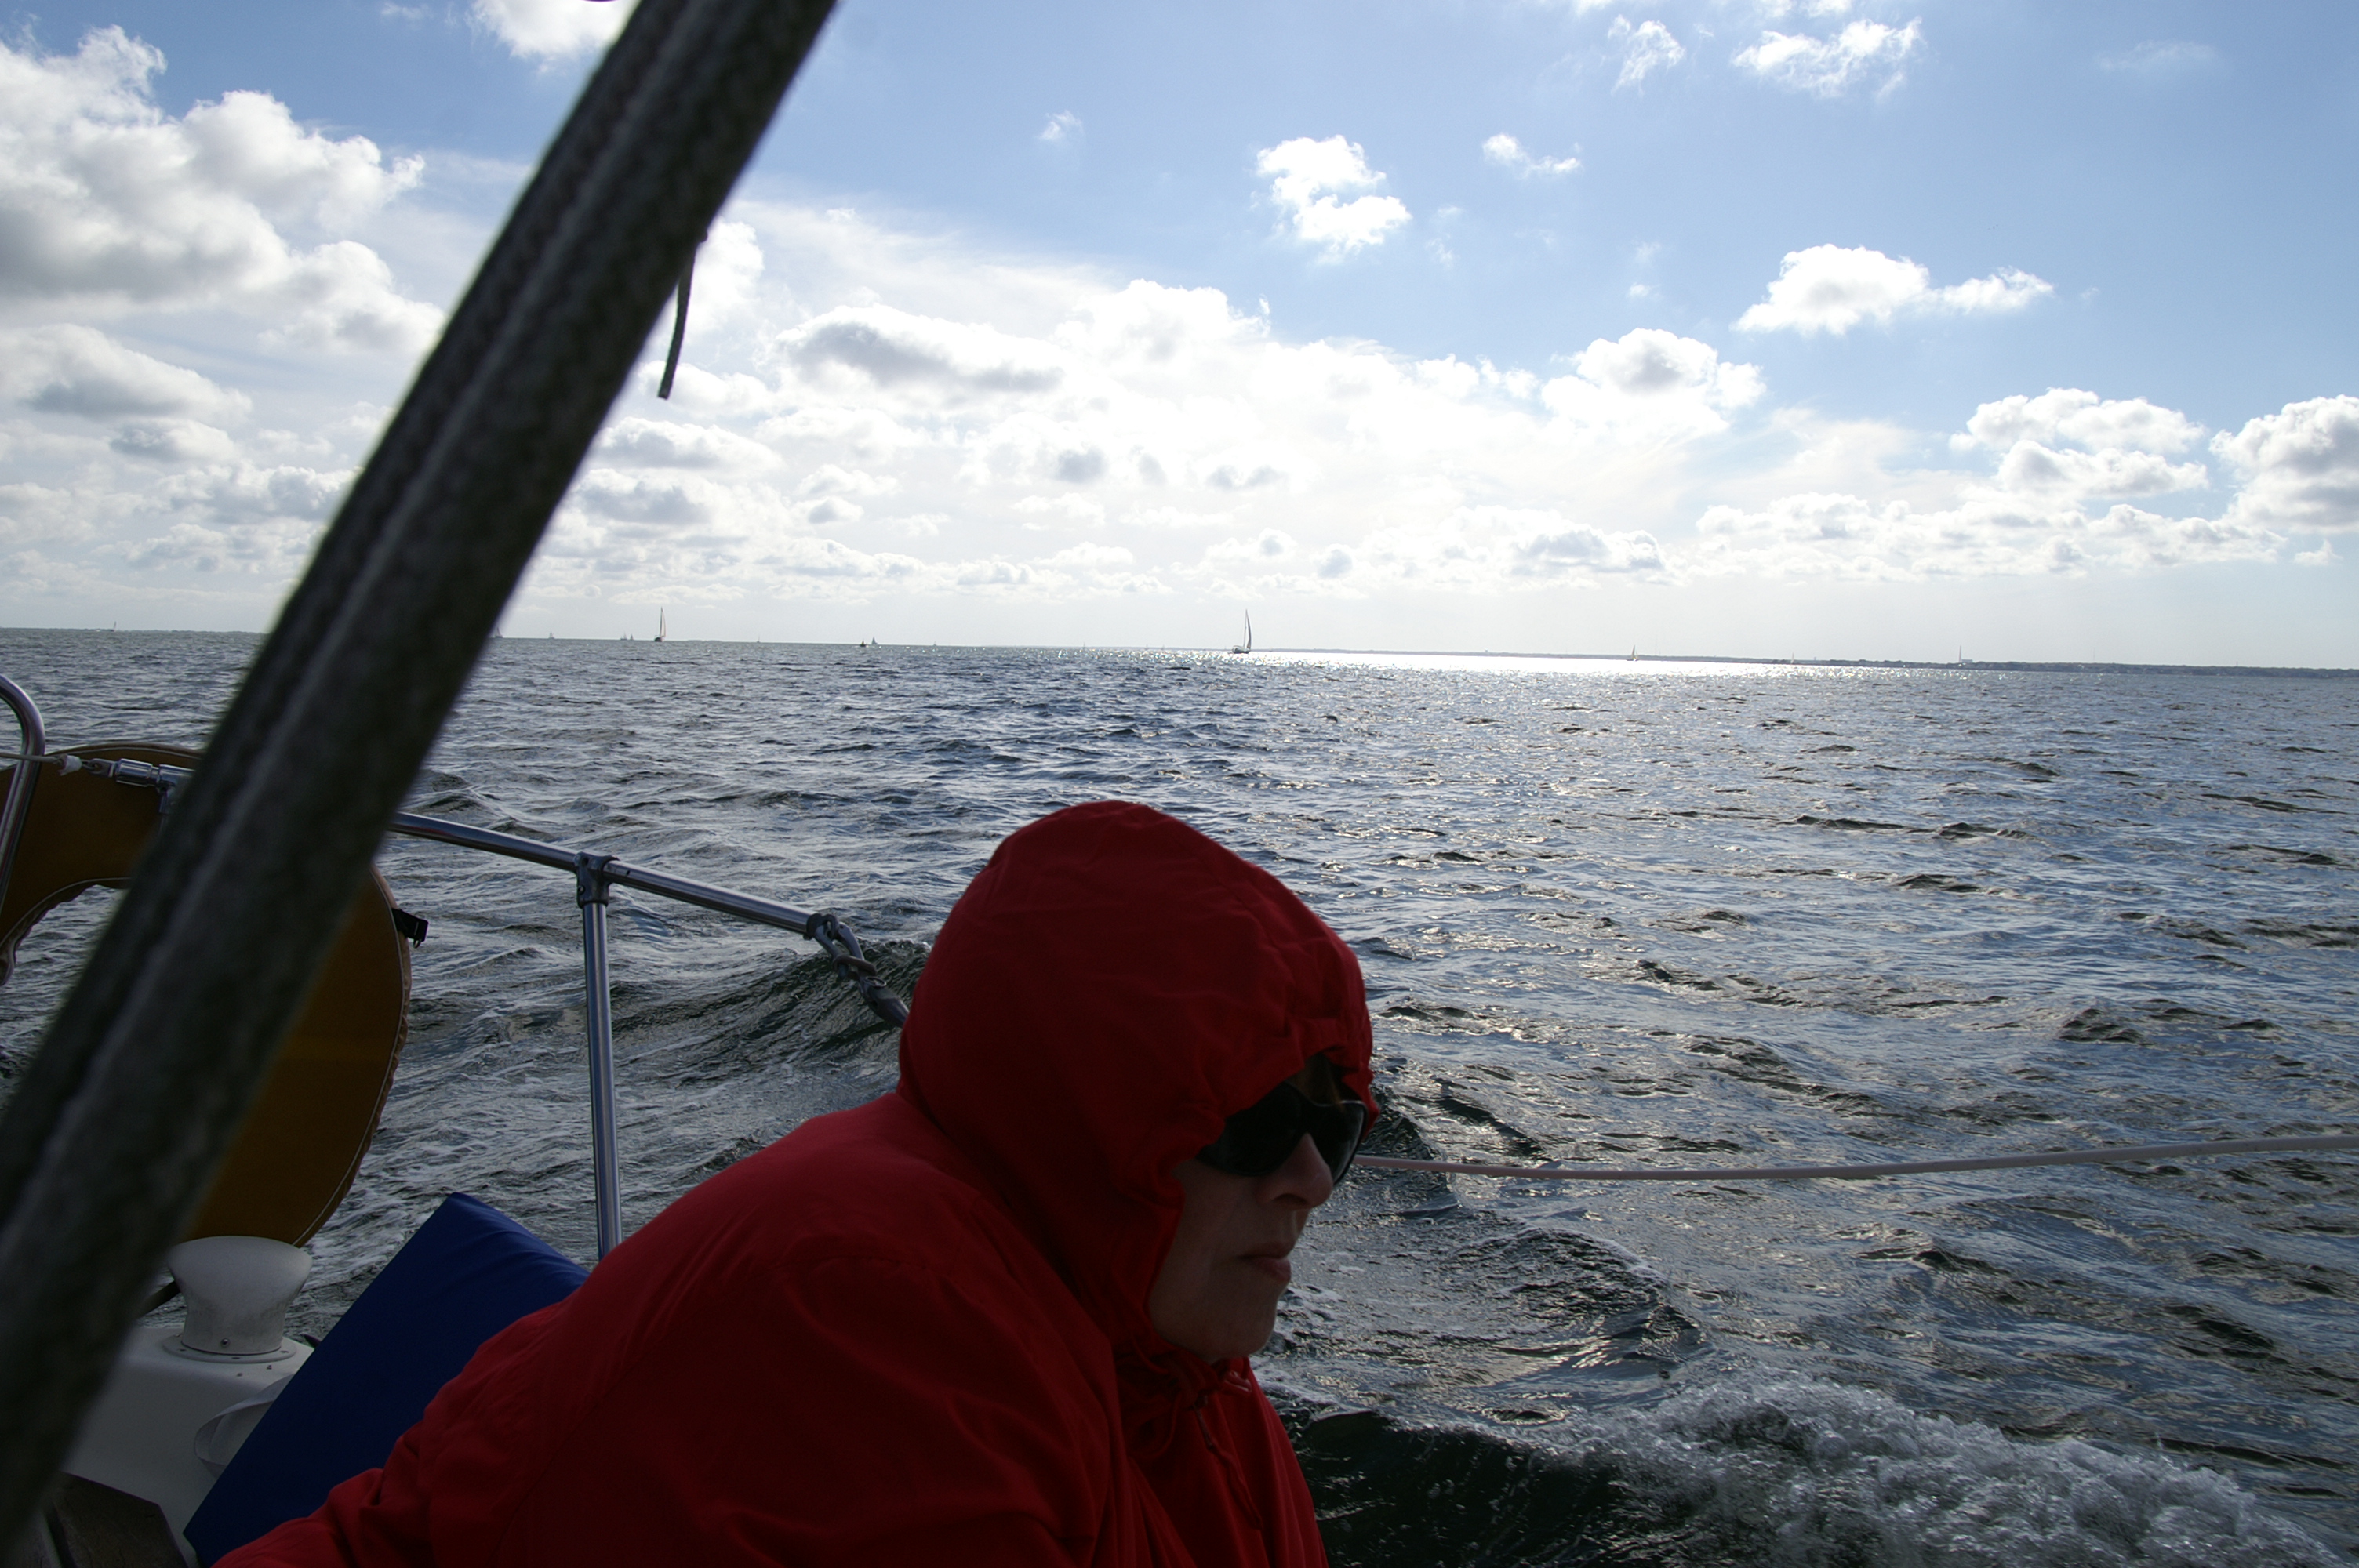
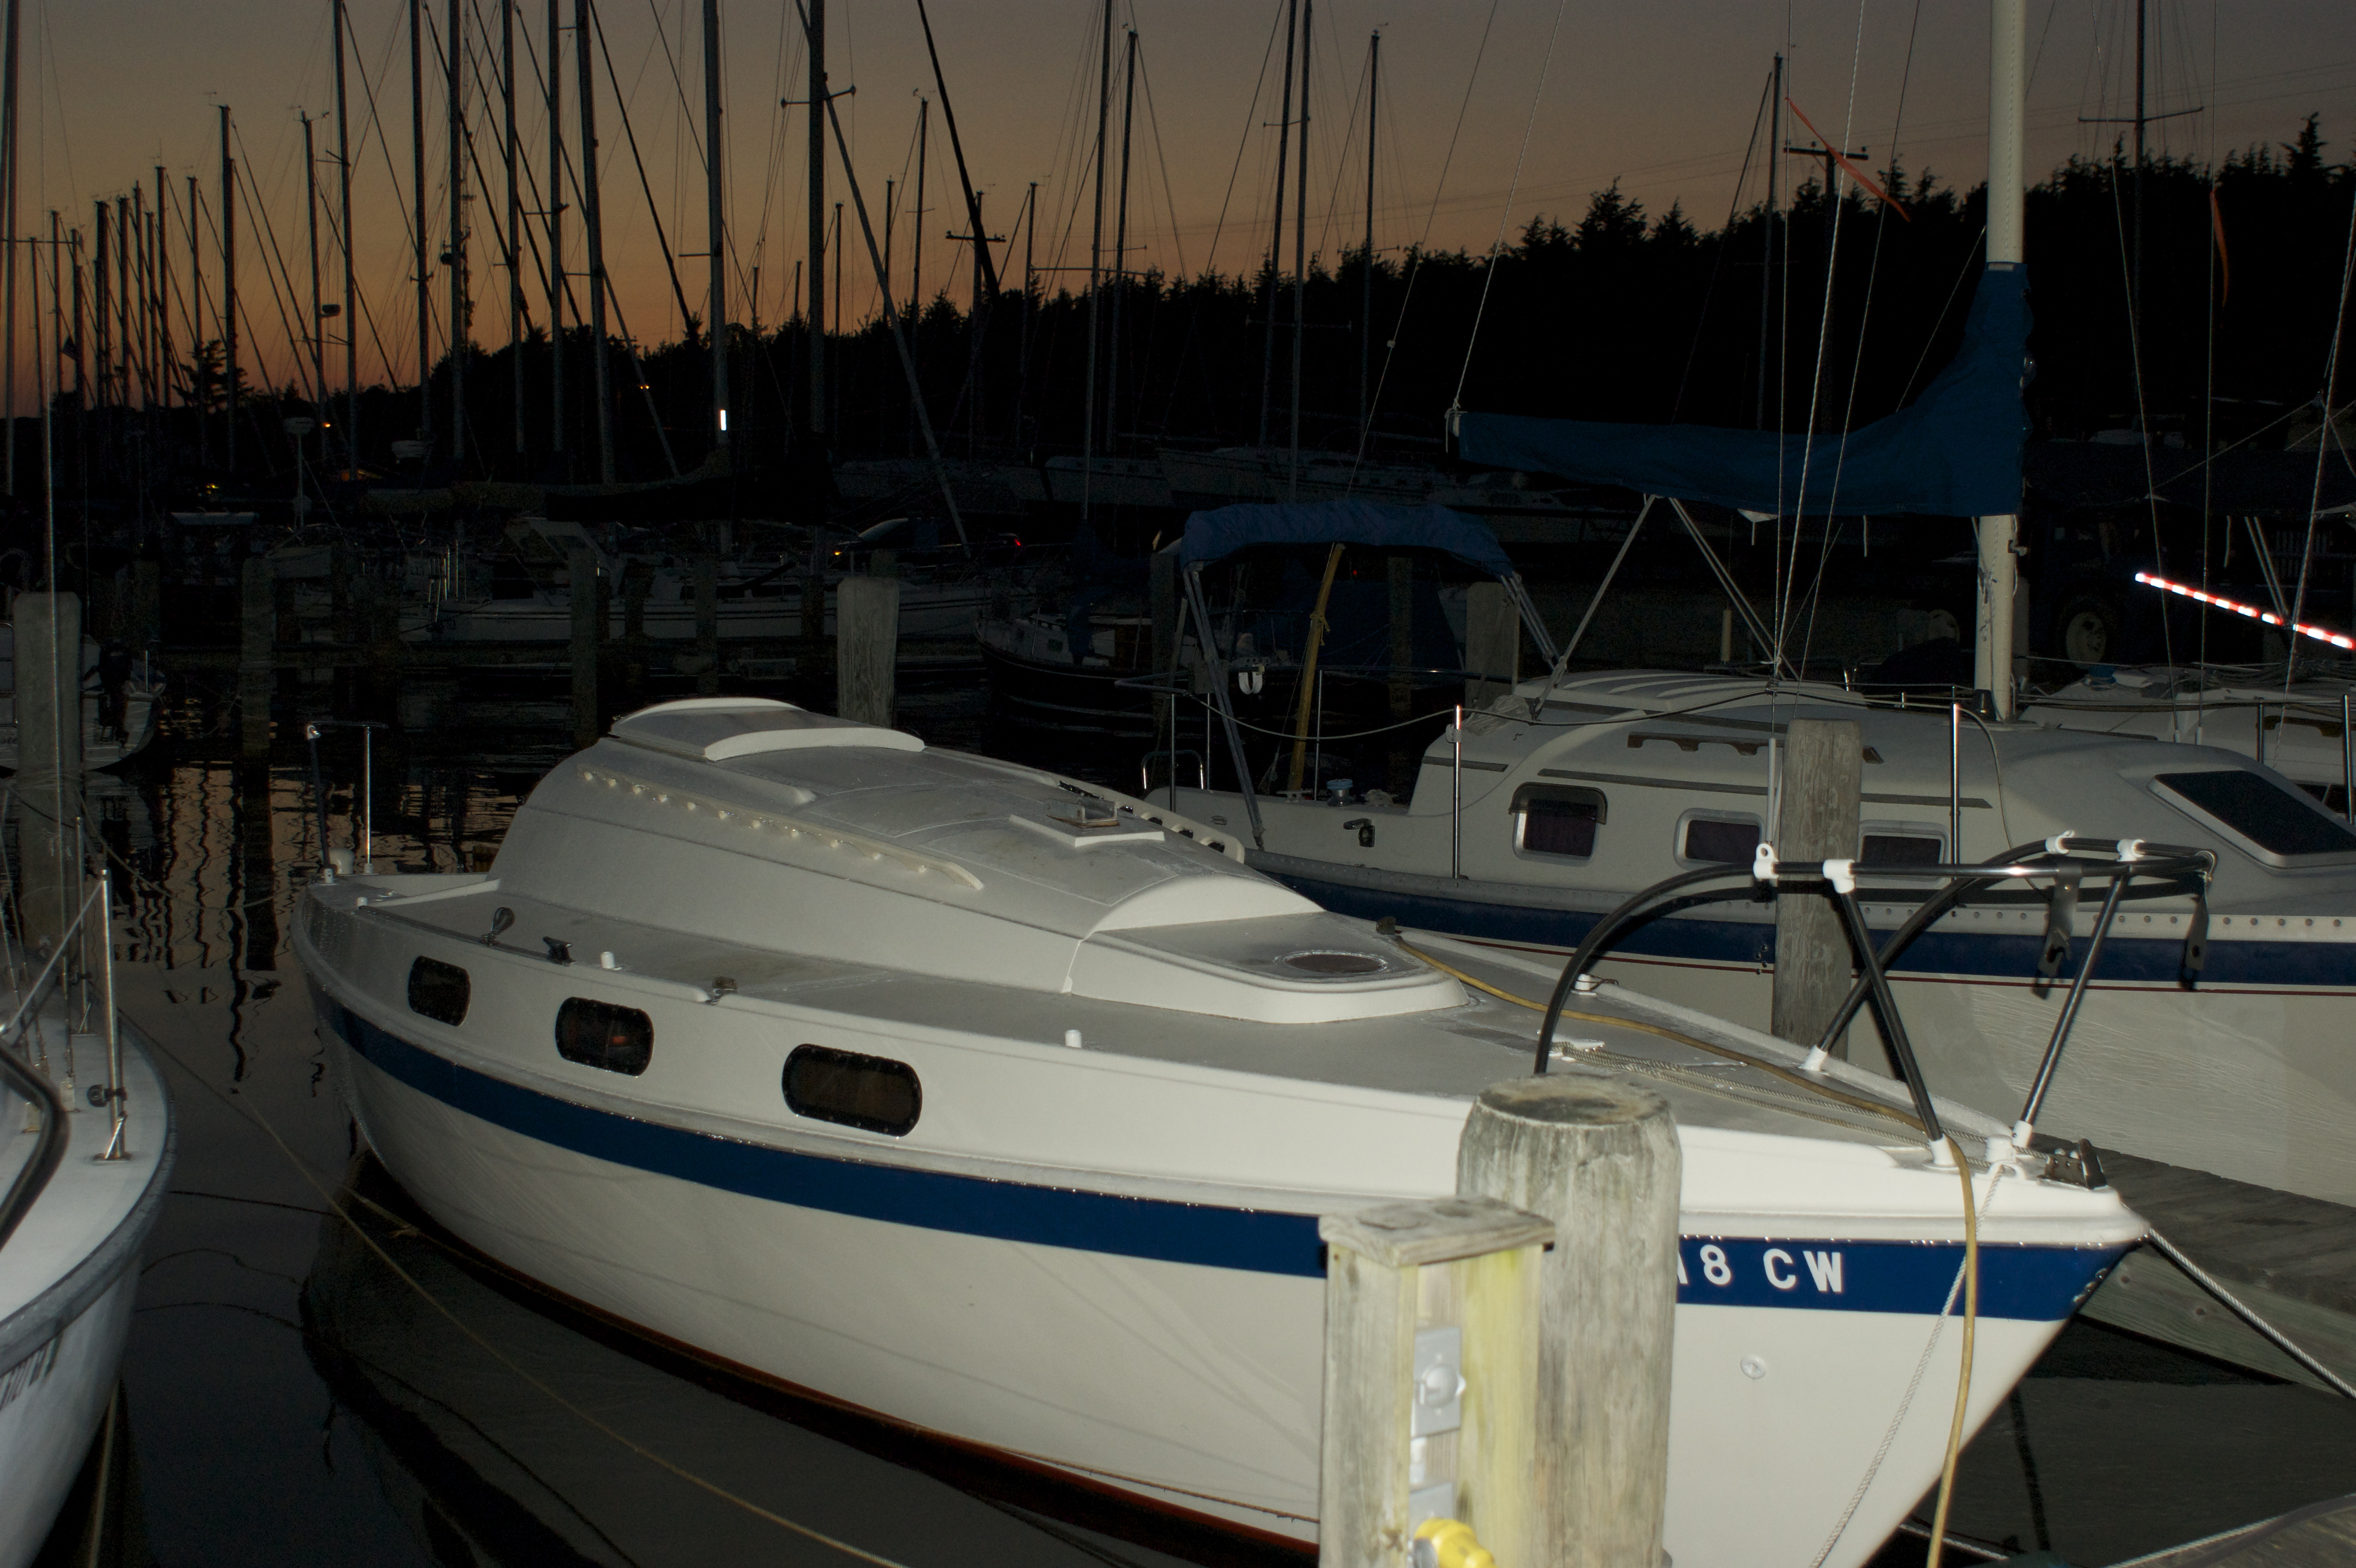
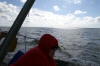
I can attest to that. I have been out on the bay in 50 knot winds (storm
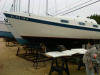
jib, reefed main Oct. 2011) and she took it in stride. After an off-season
of paint, polish and elbow grease, she was a sight to behold (slight bias).
|
The Tanzer 26 Dimensions:
L.O.A.: 26'4" (8.03 m)
L.W.L.: 22'6" (6.86 m)
Beam: 8'8" (2.64 m)
Draft: 3'10" (1.17 m)
Vertical clearance: 33' (10.06 m)
Headroom: 5'11" (1.80 m)
Displacement: 4,350 lbs. (1975 kg.)
Ballast: 1,950 lbs. (885 kg.)
Designer & Date: Johann Tanzer, 1974
|
Sail Areas:
Main: 143 sq. ft. (13.28 sq. m.)
Working Jib: 117 sq. ft. (10.87 sq. m.)
Self-tacking jib: 127 sq. ft. (11.89 sq. m.)
No 1 Genoa (165%): 265 sq. ft. (24.62 sq. m.)
No 2 Genoa (125%): 195 sq. ft. (18.12 sq. m.)
Storm Jib: 70 sq. ft. (6.50 sq. m.)
Spinnaker: 500 sq. ft. (46.45 sq. m.)
I = 30.15 ft. (9.19 m) P = 25.25 ft. (7.7 m)
J = 10.58 ft. (3.22 m) E = 10.25 ft. (3.12 m)
|
|
The factory running rigging specs for
the T-26 are:
(courtesy Robin Mayo)
Main Halyard (wire) 7x7x3/32 includes shackle 27' 5"
Jib Halyard (wire) 7x7x1/8 includes shackle 27'
Topping Lift (wire) 7x7x1/8 eye to eye 26'6"
|
Main & Jib rope tail 5/16 Dacron 29'11"
Spinnaker Halyard 5/16 Dacron 70'
Spinnaker Topping Lift 5/16 Dacron 40'
Spinnaker Fore-guy 5/16 Dacron 20'
Spinnaker Sheets 5/16 Dacron (2) 50'
Main Sheet 3/8 Dacron 50'
Jib Sheet 3/8 Dacron 50'
Genoa Sheet 3/8 Dacron 60'
Traveler Lines 1/4 Dacron (2) 8' |
The
Demise of Tanzer Industries. An article about the final days of Tanzer
Industries.
Sailquest's T26
Review A high level review/assessment of the T26.
Avocet -
Chrysler 26 vs. T26 A Chrysler 26 compared to the T26.
Tale of Two Tanzers - T26 and 7.5 compared.
Brewer by the Numbers - What's the meaning of all those numbers used by
yacht designers? This Good Old Boat article is an excellent read.
Brewer Yacht Design
- Ted Brewer's site, promoting his book and giving good information.
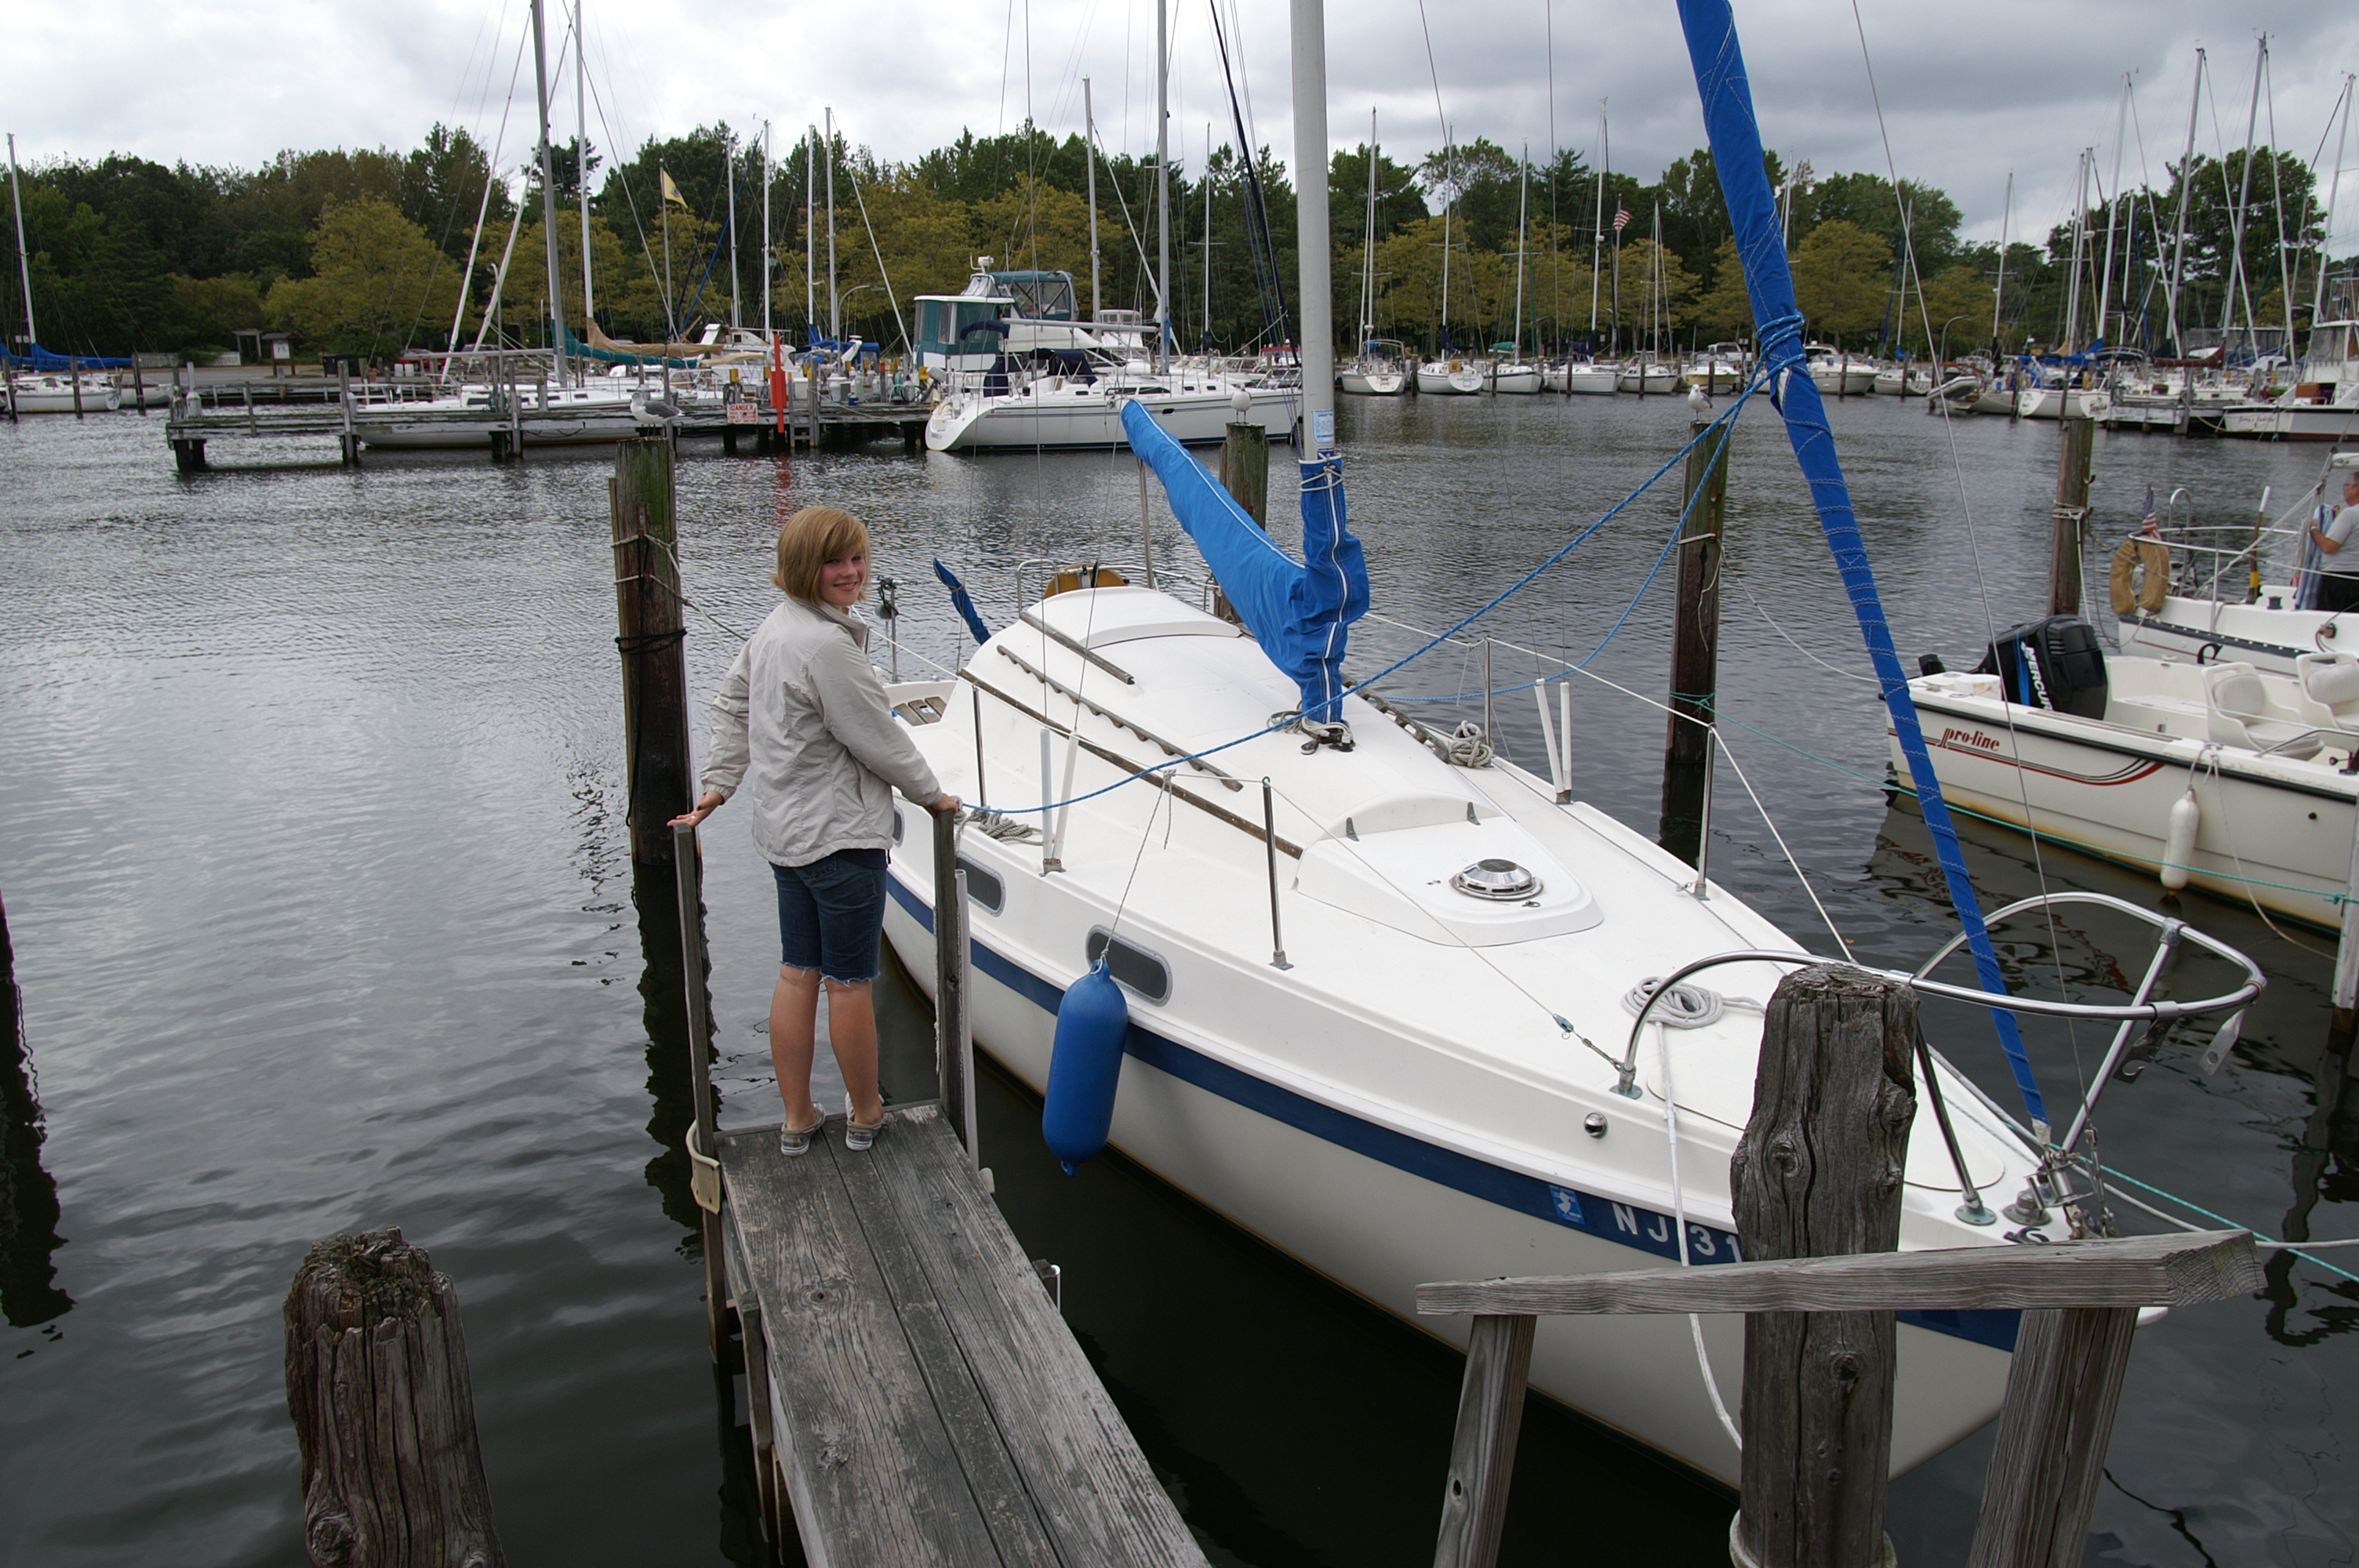
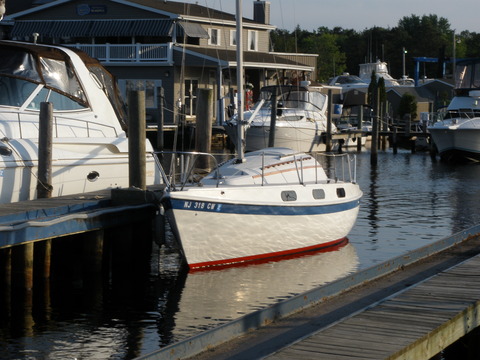
The Alradee-Chi
A 1976 Tanzer 26
 Gianna and I paid her a visit
the weekend after the auction finished; next to last weekend in September.
It was Gianna's birthday and quite an exciting experience. We
sailed her 6 times before we had to haul her out for the winter. In that
time, I got a sense for what needed to be fixed and/or upgraded. However,
we sure had some fun before the haul-out. Gianna and I paid her a visit
the weekend after the auction finished; next to last weekend in September.
It was Gianna's birthday and quite an exciting experience. We
sailed her 6 times before we had to haul her out for the winter. In that
time, I got a sense for what needed to be fixed and/or upgraded. However,
we sure had some fun before the haul-out.
The list of 2010-2011 Winter/Spring projects; completed, underway, planned...
-
Repaint boot stripe (Done, raised the waterline 1.5"
due to the crud in the creek and barnacles attached to lower edge of boot
stripe.) This worked great.
-
Repaint bottom with ACT (Need the Ingarol to help
fight slime, done)
-
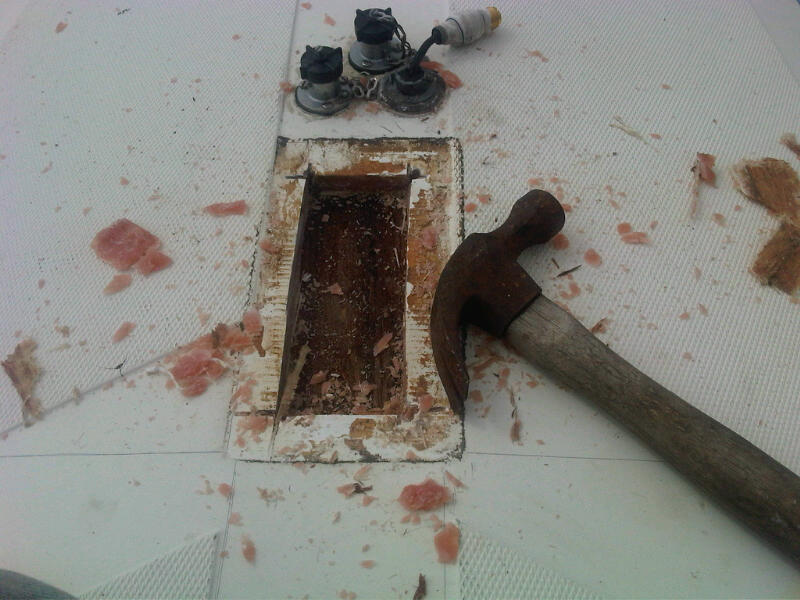
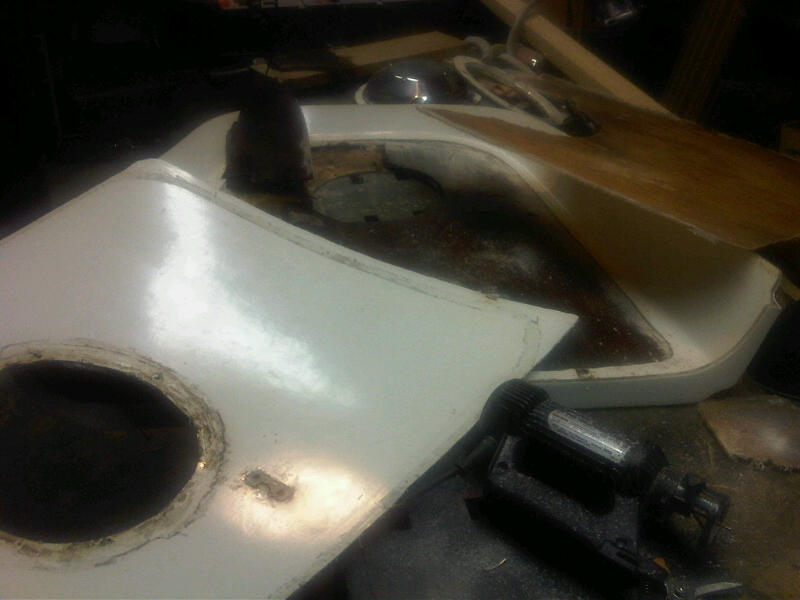
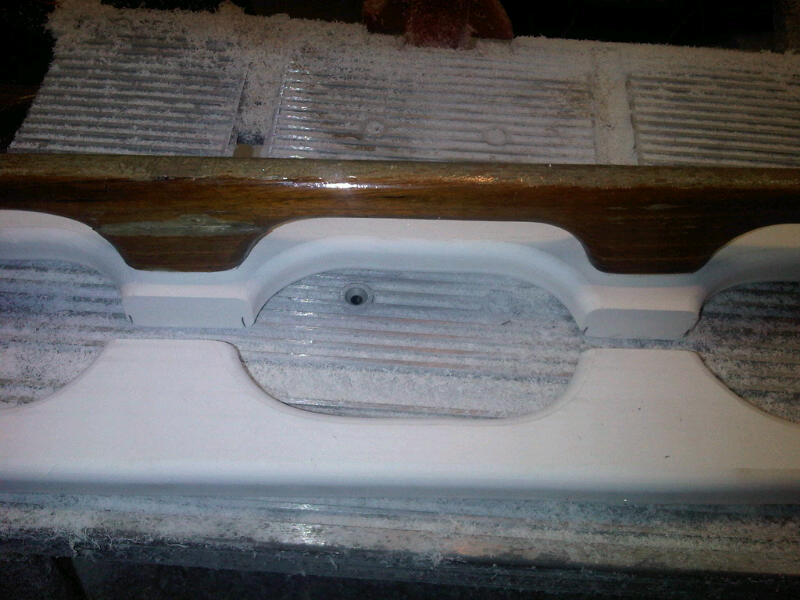
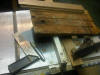
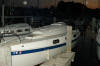
Rebuild Mast-Step
 The mast was found to be compressing into the deck when my forestay and
backstay turnbuckles were tightened to their max and the stays were still
not at their correct tension on the loos gauge. So I took the mast
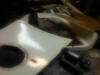
step and angle adjusting teak wedge off to investigate and found that
someone had already been there. The fiberglass top had 4 cut lines in
the exact place you see the hole in
the picture. It does not appear as though it was removed, but someone
cut into it. So I went ahead and removed the 3/4" of fiberglass and resin
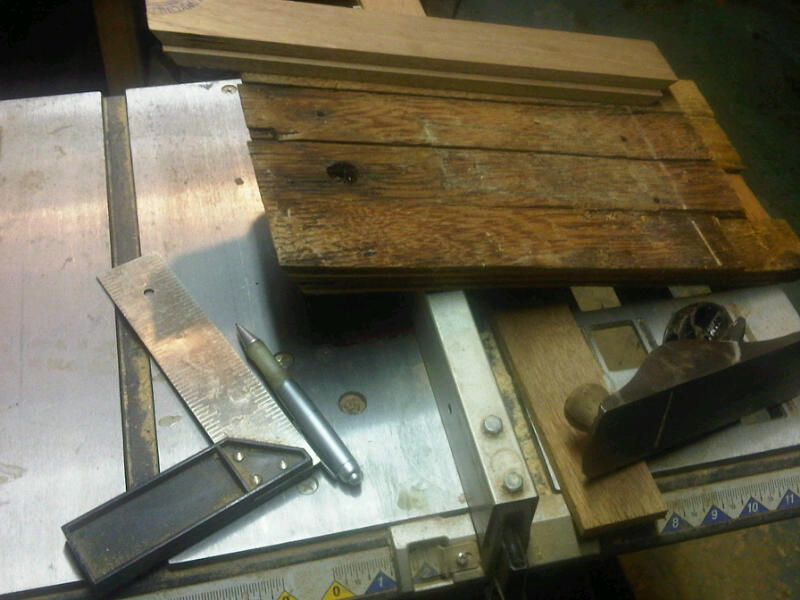
(chips seen on the left) and discovered the coach roof bridge boards were
saturated with water. They needed to come out. So I cut a 10" x
14" inch hole in the cabin top top layer of fiberglass, removed the water
soaked and moldy plywood, cut new slats from 3/8th marine plywood
The mast was found to be compressing into the deck when my forestay and
backstay turnbuckles were tightened to their max and the stays were still
not at their correct tension on the loos gauge. So I took the mast
step and angle adjusting teak wedge off to investigate and found that
someone had already been there. The fiberglass top had 4 cut lines in
the exact place you see the hole in
the picture. It does not appear as though it was removed, but someone
cut into it. So I went ahead and removed the 3/4" of fiberglass and resin
(chips seen on the left) and discovered the coach roof bridge boards were
saturated with water. They needed to come out. So I cut a 10" x
14" inch hole in the cabin top top layer of fiberglass, removed the water
soaked and moldy plywood, cut new slats from 3/8th marine plywood
 and put two layers of 3/8ths to make the 3//4" thickness with a layer of
fiberglass and resin between each, and installed the new slats plus 2 layers
of
1/2"x10"x14" marine plywood plates with fiberglass and resin between to
the top of the bridge plates
and put two layers of 3/8ths to make the 3//4" thickness with a layer of
fiberglass and resin between each, and installed the new slats plus 2 layers
of
1/2"x10"x14" marine plywood plates with fiberglass and resin between to
the top of the bridge plates
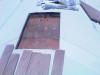 ,
and then laid 6 layers of fiberglass to the top of the 2 plates. The
step now sticks out above the cabin top by 1/2 inch, but I felt there was
enough adjustment in the stays to allow for it. This mast step project set back my repaint of the
topside by at least 2 weeks. You have to love messing about on old
boats to do the right thing. Primed with one coat of Awlgrip epoxy primer - ,
and then laid 6 layers of fiberglass to the top of the 2 plates. The
step now sticks out above the cabin top by 1/2 inch, but I felt there was
enough adjustment in the stays to allow for it. This mast step project set back my repaint of the
topside by at least 2 weeks. You have to love messing about on old
boats to do the right thing. Primed with one coat of Awlgrip epoxy primer -
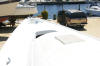 ,
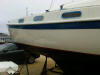
After Awlgrip topcoats and step reinstalled- ,
After Awlgrip topcoats and step reinstalled-
 More pictures coming soon. As you can see, she still needs Kiwigrip
nonskid.
More pictures coming soon. As you can see, she still needs Kiwigrip
nonskid.
-
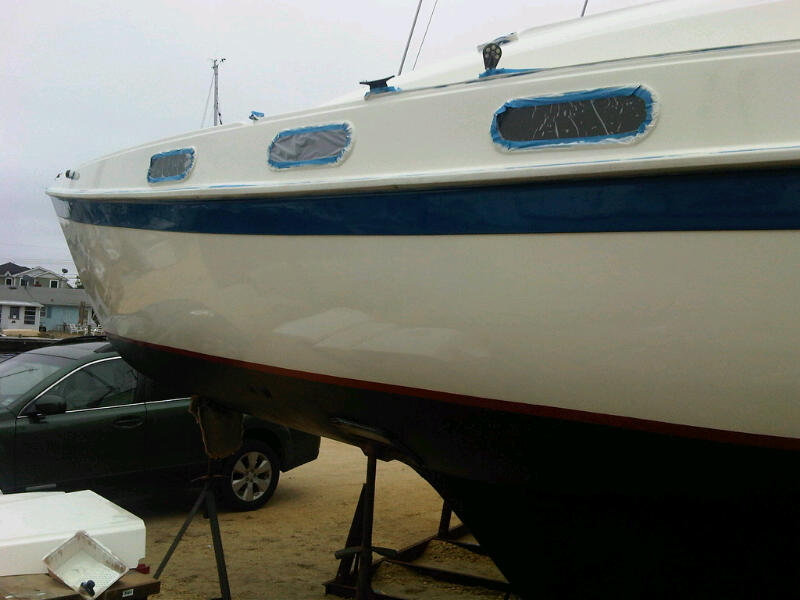
Paint the topside with Awlgrip (Oyster White).
(Done).
-
Apply Poliglow instead of wax. (Done; see
http://www.poliglow-int.com/ for
product info) Works as advertised with awesome results! Check out the
reflection in the hull.
-
Rebuild front hatch by removing rotted core and
replacing with new exterior plywood and resin.
 (Done). (Done).
-
Cover Cockpit cushions (Done)
-
Add Solar Panels to companion way top (Done, panels mounted
to custom aluminum frame, frame not mounted to companion way hatch cover in
deference to potential new owner)
-
New 12 switch - 12 breaker Eletrical Panel with Solar
charge controller for 2 batteries (Done)
-
New Mainsail (Full batten, fuller roach, Done)
-
Mount new numbers and Tanzer tornado emblem (Done)
-
Repair Boom track with custom milled aluminum bar (Done)
-
Replace Mainsheet (done)
-
Purchase spinnaker sheets (re-use mainsheet and an
older sheet from previous owner)
-
Build two piece take apart dinghy (Underway)
-
Service engine (Done)
-
Clean engine compartment
-
Install ST1000+ Tiller Autopilot
 (Done)
-
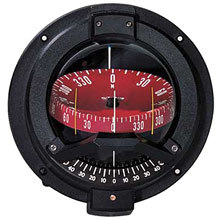
Install Ritchie Navigator Compass in the cockpit
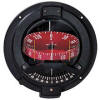 (Done)
-
Sew new Mainsail cover (Done)
-
Sew Bimini Cover (Done)
-
Sew Solar panel foul weather covers (TBD)
-
Replace Bilge Boards (PVC)
-
Mount weather station on masthead (done)
-
Caulk steaming light flange on mast (Done)
-
Replace Steaming light and foredeck light bulbs with LEDs
(done)
-
Replace Stern light bulb with LED (Done)
-
Remove eyebrow slats (Done, as part of the topside
repaint)
-
refinish grab rails (varnish in progress)... Changed
my mind. I made new ones from 5/4 PVC and then painted with Rustoleum
Paint for plastic (yes, Rustoleum makes a special paint that binds very well
with PVC, color is Shell white).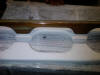 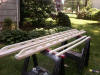 
-
Refinish/Re-chrome lifeline hardware (done, powder
coated Tiger Drylac RAL 9010 Pure White, by Powtec of Trenton, NJ).
They look great.
 . Need new life lines
(installed 3/16" Amsteel). They are just as strong and can be stalled
without a rigger and no rust ever. . Need new life lines
(installed 3/16" Amsteel). They are just as strong and can be stalled
without a rigger and no rust ever.
Past upgrades:
-
2008-2009
-
2009-2010
|