Measuring for proper fit:Even though I new the dimensions of the
cockpit, with the boom hanging out into the cockpit, the backstay slicing
through the middle of the over head space, interference with the winches and
stern rail to be concerned with it was not an easy task. The approach
I settled on was to first draw a top to scale with MS Visio, and then build
a frame out of 1 x 2.
The drawing was a concept I toyed with which would have split the bimini
into two levels so that the forward level would sit under the boom and the
upper level would stay farther back and out of the way of the boom.
Here is what it would have looked like from the side.
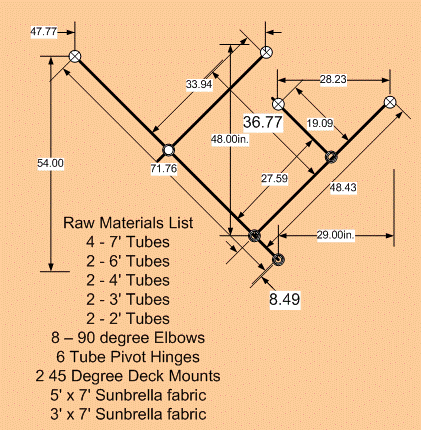
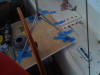
I then made a frame out of 1 x 2 to simulate the upper level of the bimini.
The main arm was cut to 6' (45 degrees at each end, each parallel to the
deck), the mid-support arm was cut at 34" (the upper end was cut on a 45 to
be parallel to the deck). The support arm was then attached to the
main arm with a couple of 3" drywall screws. I also placed a 5' lath
strip to the top of the two arms and fastened with 1" drywall screws.
The key point here is that the 45 degree cuts on the support arms parallel
and in line so the lath strip is flush on both arms (no gapposis).
I then took the frame down to the boat and propped it up on an 8 foot
length 1 x 6 placed just forward of the angled stanchions, and clamped it to
the backstay with a rubber capped 8" easy-clamp (so as not to crush or
scratch the backstay). What I realized after putting it up, was that
with the boom where it was set on my mast (lower than most) I could lengthen
the top by at least a foot longer than the 4' the mach frame was set to.
I could also go wider than the stern rail and have enough room to adjust the
mount point of the deck hinge back or forward if needed.
At this point, with the ability to overhang the boom, I abandoned the
idea of a two tier bimini and set the dimensions of the bimini to order to
5' long, 76"-78" wide, and 54"-56" high.
OrderingFinding a place that allows you to specify all dimensions of
the bimini was not easy. There are so many providers, it takes a while
to find one that has the right user interface; length, height and width plus
options.
I ordered the top on July 17 from
Pelican Marine with stainless steel fittings and rigid support poles.
The website said 2-7 day delivery time which meant it would arrive in plenty
of time for the Cape May cruise. Well, that was the plan anyway.
It did not arrive until a week and a half after I returned.
Here is the model I ordered:
http://pelicanmarine.net/bimini-tops/bimini-tops/vinyl-coated-polyester-bimini-top-frame-and-canvas-/prod_9623.html
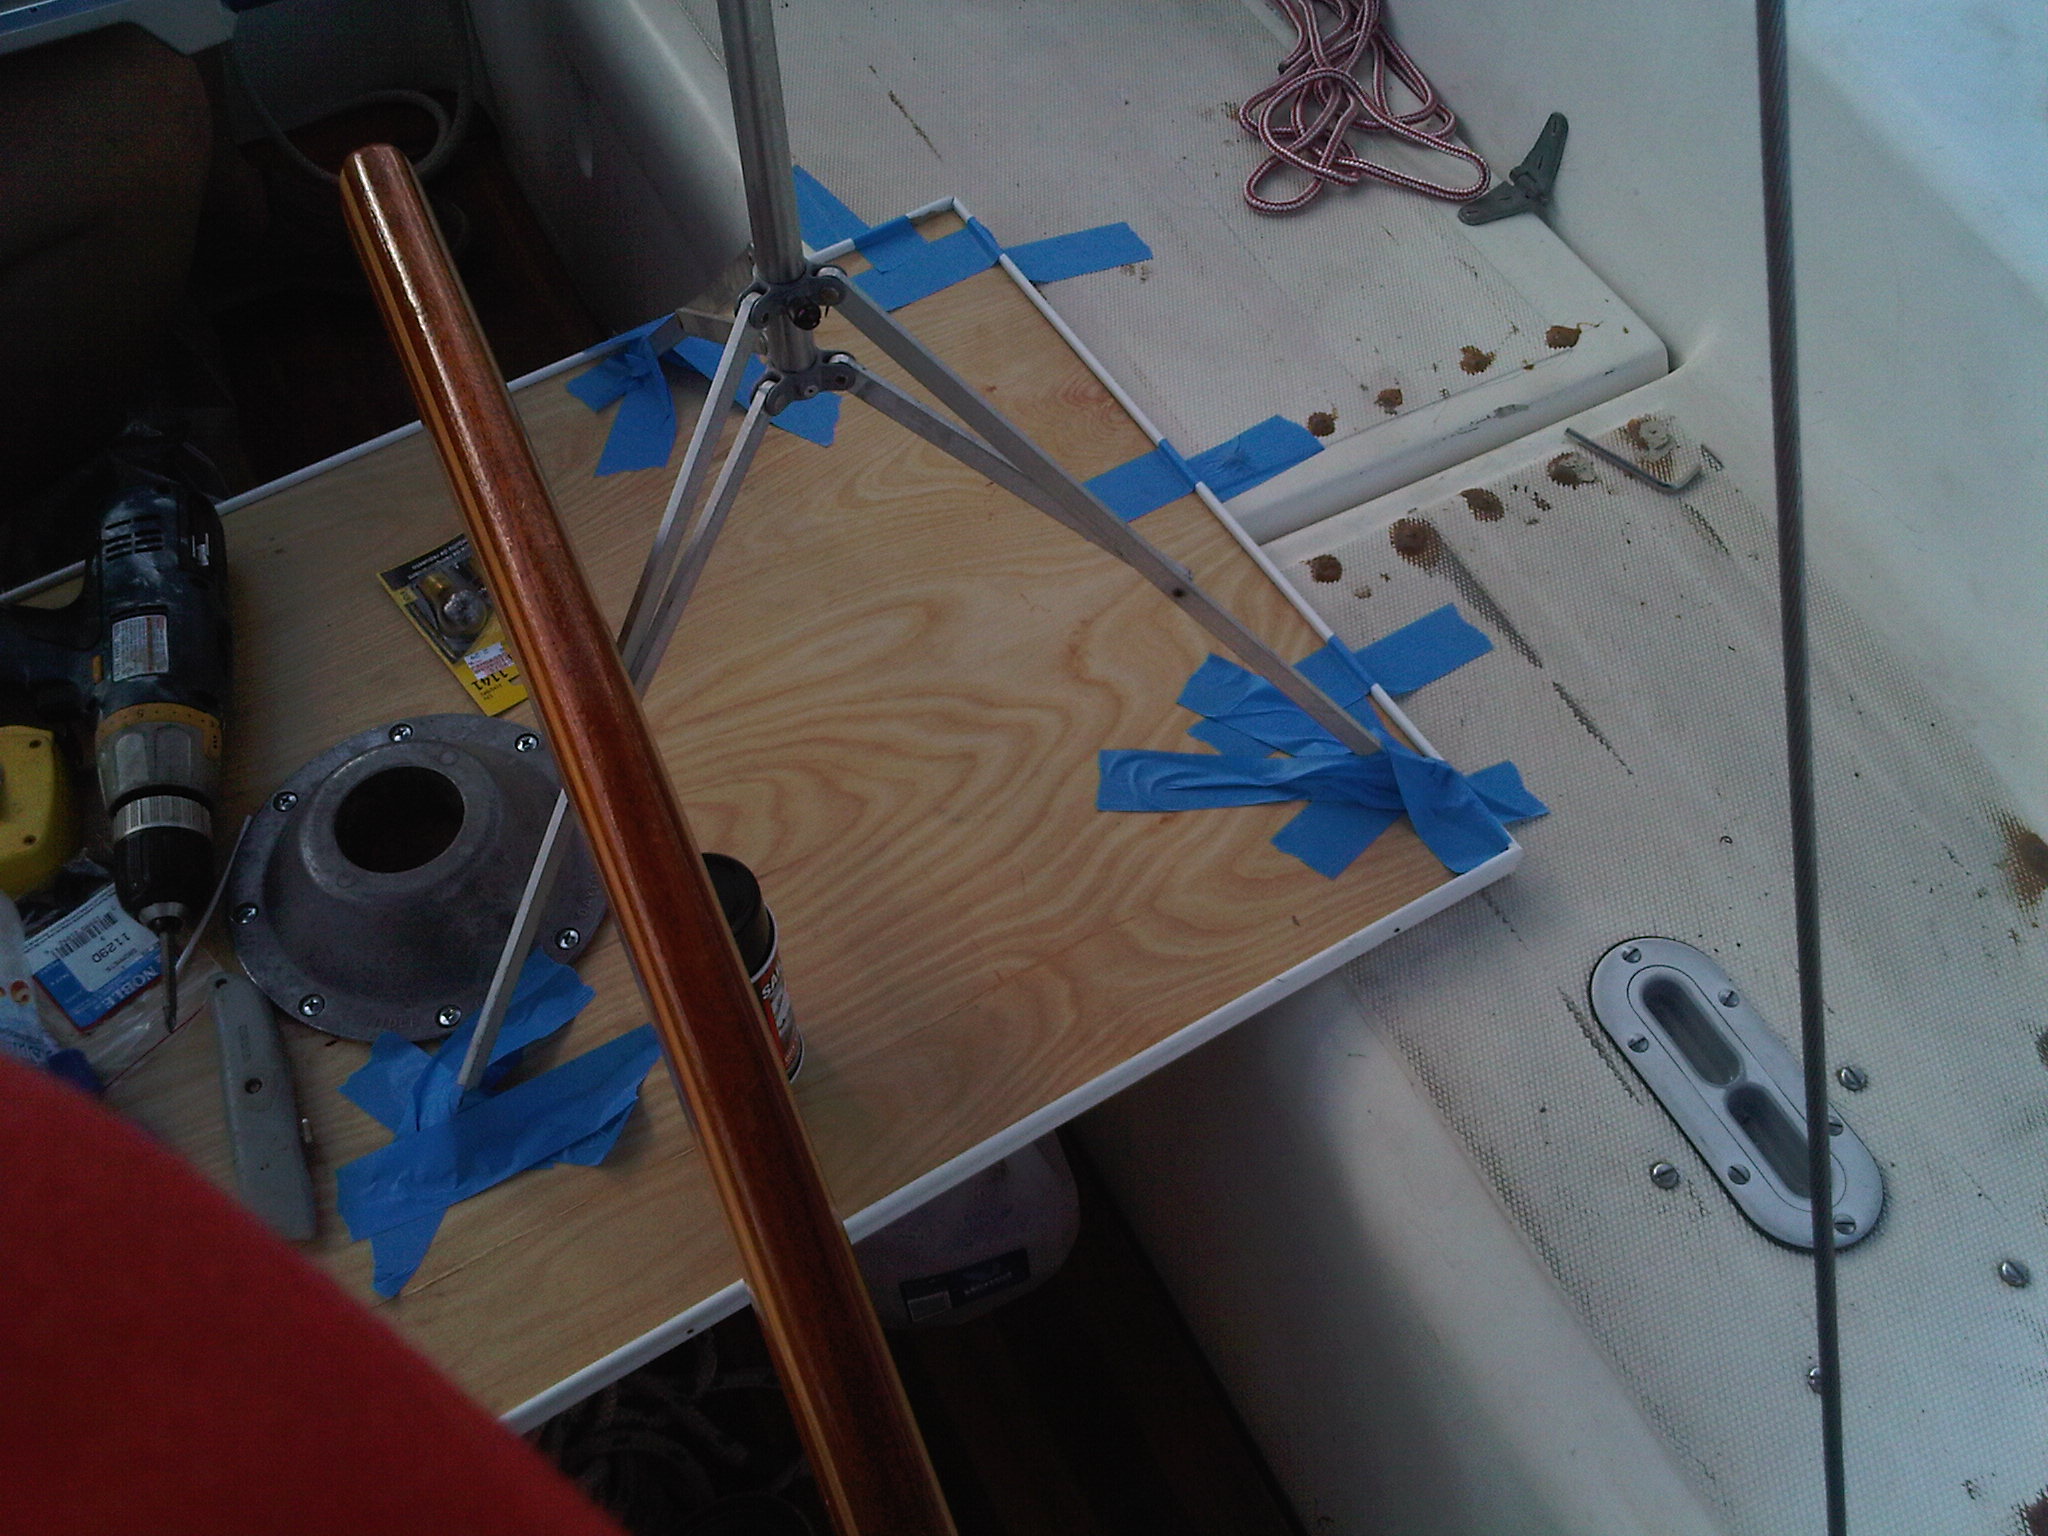
 I placed a table top across to the seats, and taped in place. I then
taped it to the seats to keep it from moving, and then positioned a tripod
under the back stay so the mark the location of the backstay.
I placed a table top across to the seats, and taped in place. I then
taped it to the seats to keep it from moving, and then positioned a tripod
under the back stay so the mark the location of the backstay.
 Then
tape the tripod in place so that it doesn't move.
Then
tape the tripod in place so that it doesn't move.
 At
the top of the tripod, I inserted a 1/8" rod and bent it twice to match the
angle of the backstay. After tightening the mainsheet to put a good
tension on the top lift, I took off the backstay and mounted the bimini
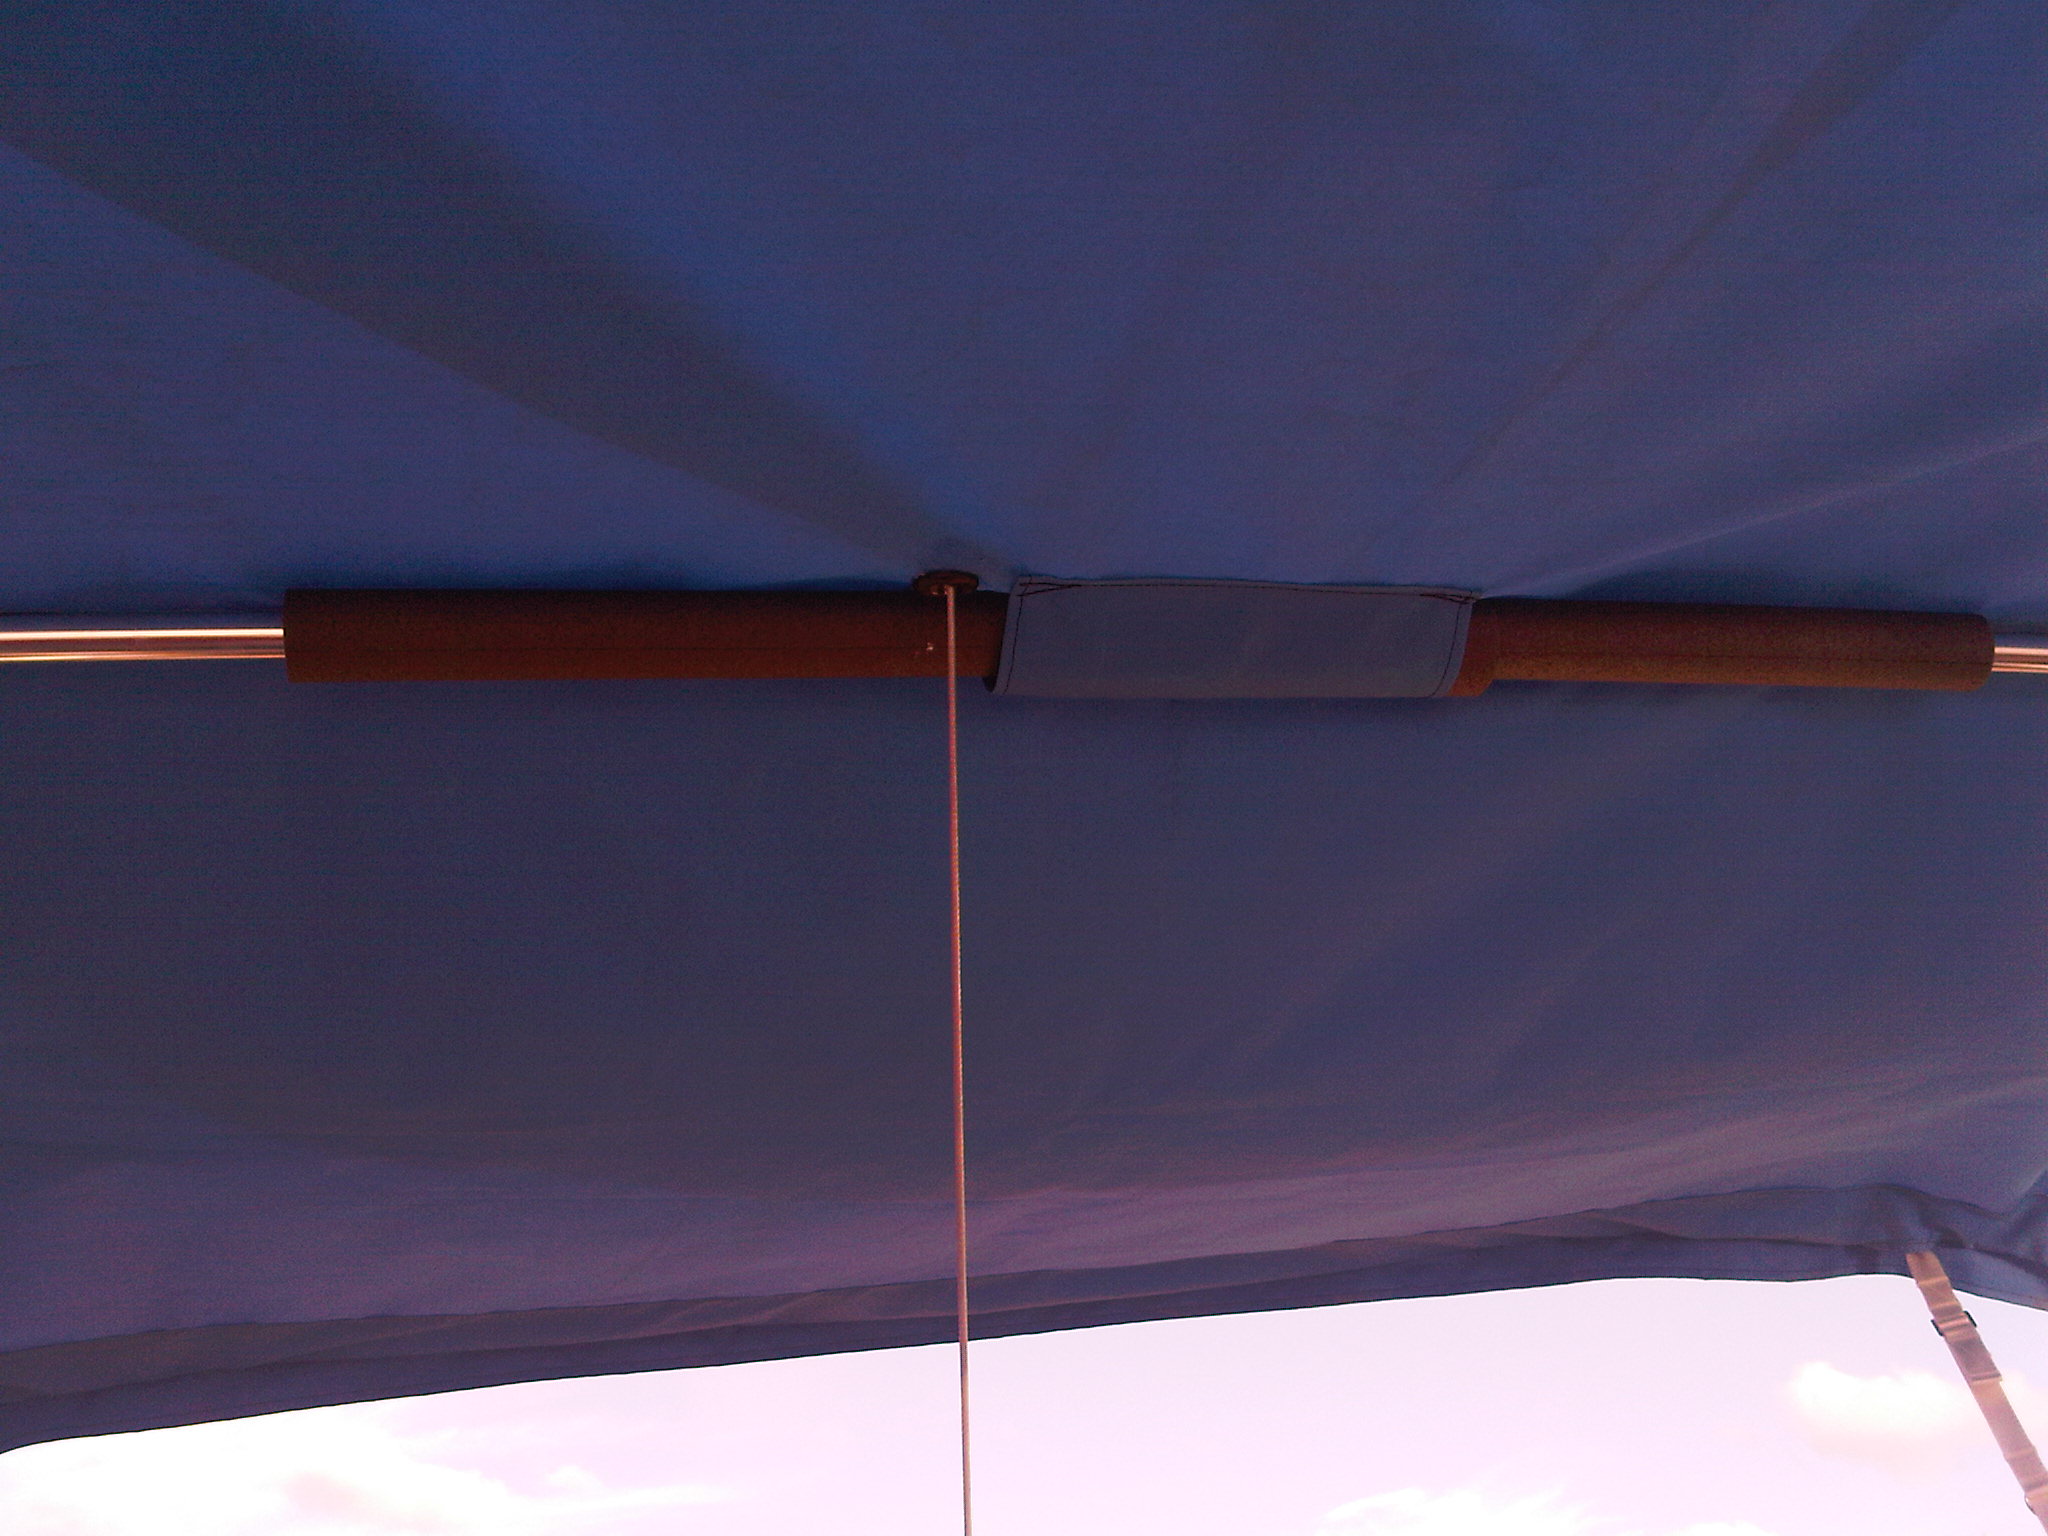
frame and top. I then used the bent rod to mark the location on the
top. I cut a 1" hole and inserted a 1" rubber grommet which had
silicone in the slot. Then I inserted the backstay through the grommet
and reattached it to the stern turnbuckle and tightened the backstay to 40
on the loos gauge.
At
the top of the tripod, I inserted a 1/8" rod and bent it twice to match the
angle of the backstay. After tightening the mainsheet to put a good
tension on the top lift, I took off the backstay and mounted the bimini
frame and top. I then used the bent rod to mark the location on the
top. I cut a 1" hole and inserted a 1" rubber grommet which had
silicone in the slot. Then I inserted the backstay through the grommet
and reattached it to the stern turnbuckle and tightened the backstay to 40
on the loos gauge.
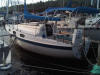 Here
she is with her new top. Works like a charm. Total time of the
actual install was about 7 hours.
Here
she is with her new top. Works like a charm. Total time of the
actual install was about 7 hours.

 Clearance of the boom is adequate and no problem at the winches.