![]()
![]()
|
|
|
In building a hardtop Bimini that is strong enough to support itself and 53 pounds of solar panels, there are many challenges. The weight of the top is estimated to be 40-50 lbs. This means the full setup (with wires, panels, panel mounts, extra tubing, etc...) will weigh in at about 100-120 lbs. I was concerned about this much weight aft and Tom W said we would not notice it. It would be like having a kid or Great Dane in the cockpit. No problem. It is weight up high, but it does not increase healing force until it goes past 25 degrees. Once again, no problem. First, I did not want to spend the money for a new Bimini frame, so I reinforce the
existing 7/8" tube frame with thin walled 1" SS tubing.
Tom Wright at Cedar Creek Sailing Center can get SS thin walled It was then a matter of measuring the frame in such a way as to prevent
interference with the boom and the split backstays. Centering the top was
also a challenge since there really isn't a reference point on the frame to
measure from except the ends of the frame tubes. The width between stays and the span
between bows would set the dimensions of the top. So I went to the boat on
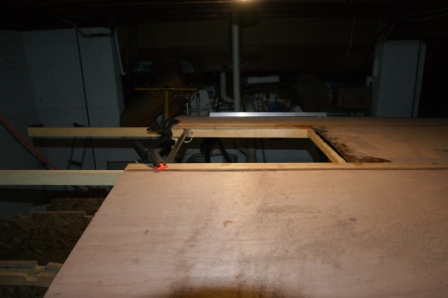
a cold February weekend, installed the cloth Bimini, then built a wooden frame
on top of the bows out of 1x2" pine to mark the frame locations. The split
backstay was handy in that it was perpendicular to the length of the boat.
Once marked, I cut notches in the 1x2 strips
with a 15/16" spade bit and saber saw, nailed a bridge piece between strips
(which formed a ladder of sorts with stringers and treads), then mounted the
ladder to the underside of the hoops with string To allow the 1/4" marine mahogany plywood to take the shape of the curve
of the frame hoops (in addition to wetting with water), I cut kerfs into the plywood
0.5" appart, bent the plywood onto the frame
and clamped it to the frame. This allowed me to stuff the open kerfs with
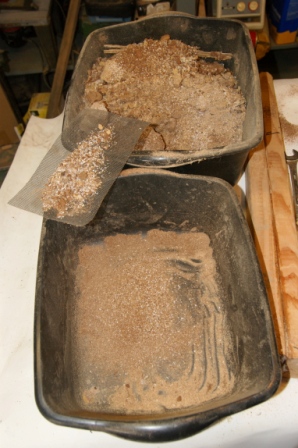
epoxy mixed with wood flour after the plywood dryed. I have buckets of
sawdust from under
the table saw. I first screened the flour to make sure there were no large
chunks.
To add strength to the kerfed and stuffed panels once curved, stuffed and dried, I covered them with 6oz fiberglass cloth and polyester resin. This was a mistake. I should have used West Systems epoxy through out. The polyester resin would not set on the panels. It acted like laminator's resin which does not set when exposed to air. It was stiff, but tacky. The resin in the pot kicked and was hard as a rock, but he thinner layers would not. So after after three subsequent coats of resin, raising the temp in the basement to 70 degrees, using a heat gun, waiting weeks, and it still not setting, I treated it like laminator's resin and covered it with fairing compound and the miracle happened; it cured. The surface needed some fairing anyway so nothing lost in material. Just took a while to figure out the problem. The resin wetted cloth cloth was wrapped around the lower edge of the panel and stuff into the gap between the cypress and plywood with strips saved earlier.
I epoxied 1 inch PVC (cut 2" wide with a 45 degree angle on one long side) lumber fore and aft to the underside to provide the
frame something to stop against. Before mounting the PVC I installed a 6"
wide 1/4" panel on both side of the mid section (fore and after) so that the was
a continuous flush surface to mount the tubing to. The frame is attached to the top
with stainless steel tubing tie-downs, but I also used 2x2 with a notch cut in
it for temporary mounting brackets. The other detail was softening the interface on each side of the center
section.
I used West Systems Epoxy and 410 filler/thickener to
Additional pictures below. I will update this article once I have the top hauled out of the basement (yes I tested the removal before start the final assembly). Once the top is outside, I will prime with awlgrip primer and top coat with Awlgrip Forest Green finish coat.
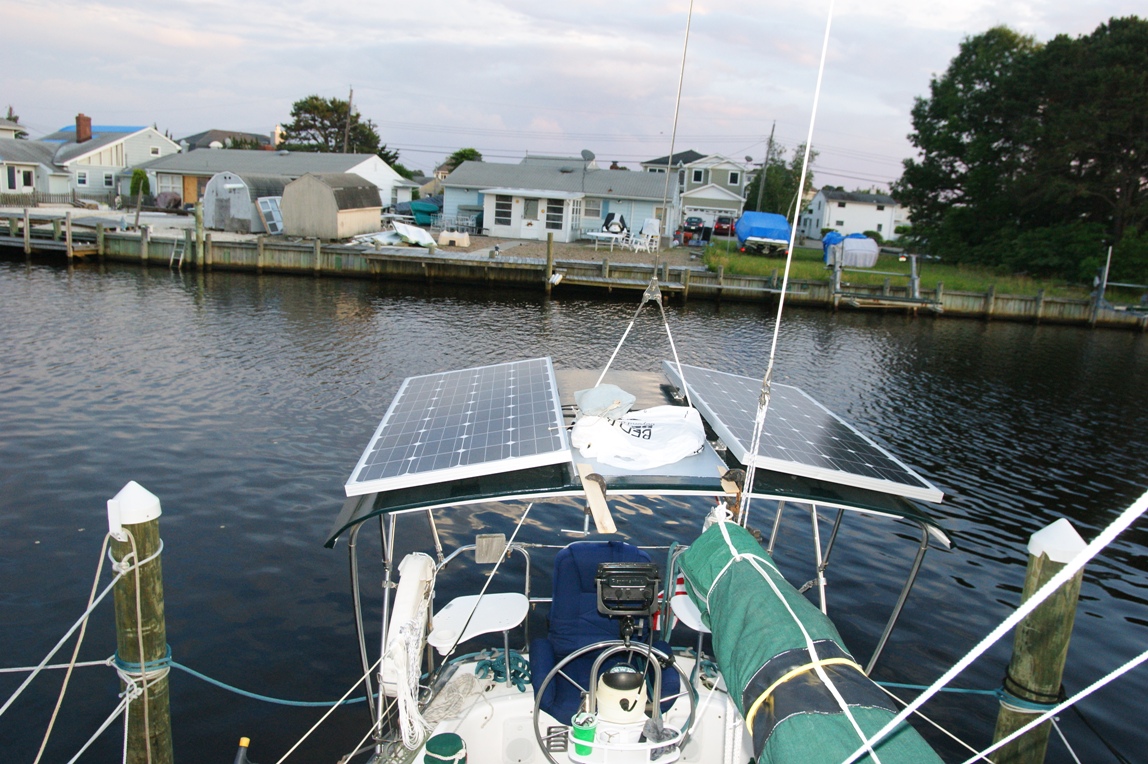
This update is about putting on the finish color coats of Awlgrip, mounting the solar panels to the top, and installing the bimini on the boat. In short, it is now functioning in the capacity for which it was designed; shelter and solar panel support. After 3 coats of primer were put down on all surfaces of the bimini, I sanded it with 220 grit sand paper. The bottom side then got 2 coats of Awlgrip Mediterranean White and the top side received 4 coats of Dark Green (if I had used a dark primer, fewer coats of the Dark Green would have been needed. The important thing is the coverage (no light spots) and a good shine to the finish. 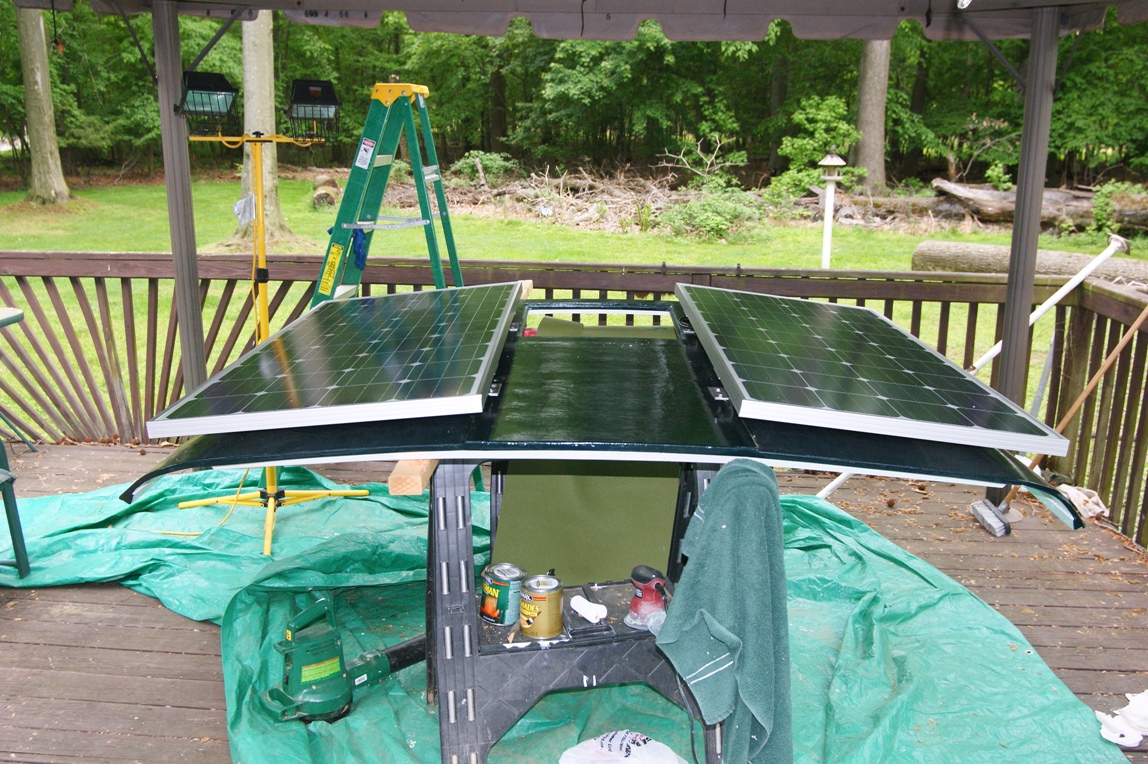 Before
mounting the panels to the top I had to make the brackets to support the
panels. Hotwire sold me z-brackets they said would adjust to the curvature of
the top. However, they would Before
mounting the panels to the top I had to make the brackets to support the
panels. Hotwire sold me z-brackets they said would adjust to the curvature of
the top. However, they would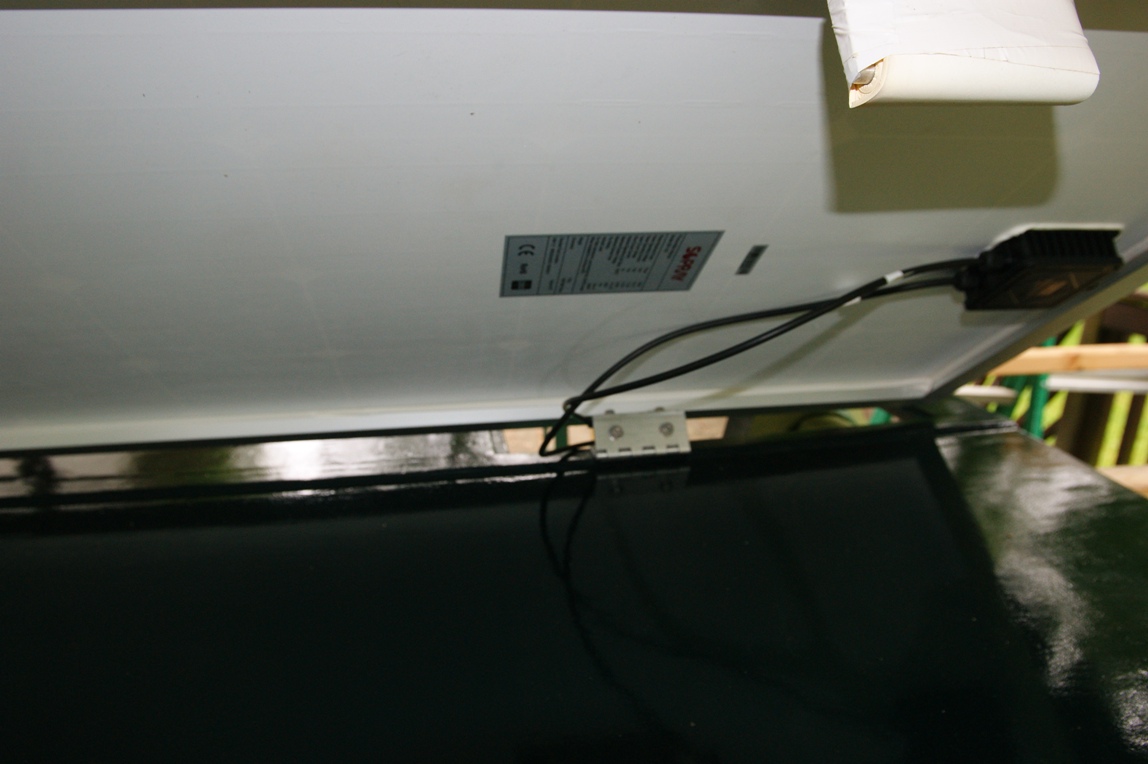 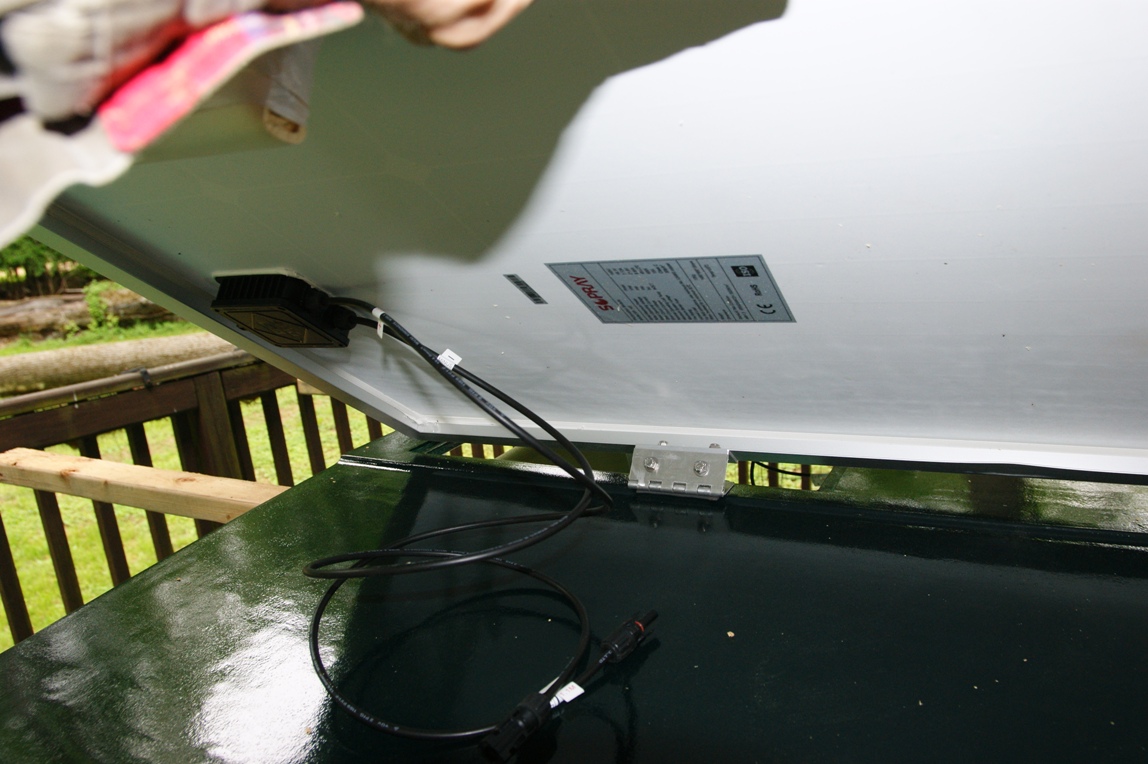 not do at all. What worked was a mount design of my own. I combined 1.5"x4"
aluminum angle bar purchased from Home-Depot in a 4 foot section, and1.5"x4"
aluminum hinge.
These were cut from a blank 4’ hinge purchased from Grainger. I needed a total
of 8 pieces of each (4 each for each panel). I used the blank hinge so that I
could drill my own holes for bolting. Each bracket hinge pair took 6 nuts and
bolts and washers. The pictures below show the mounted panels and some hinge
action.
not do at all. What worked was a mount design of my own. I combined 1.5"x4"
aluminum angle bar purchased from Home-Depot in a 4 foot section, and1.5"x4"
aluminum hinge.
These were cut from a blank 4’ hinge purchased from Grainger. I needed a total
of 8 pieces of each (4 each for each panel). I used the blank hinge so that I
could drill my own holes for bolting. Each bracket hinge pair took 6 nuts and
bolts and washers. The pictures below show the mounted panels and some hinge
action.
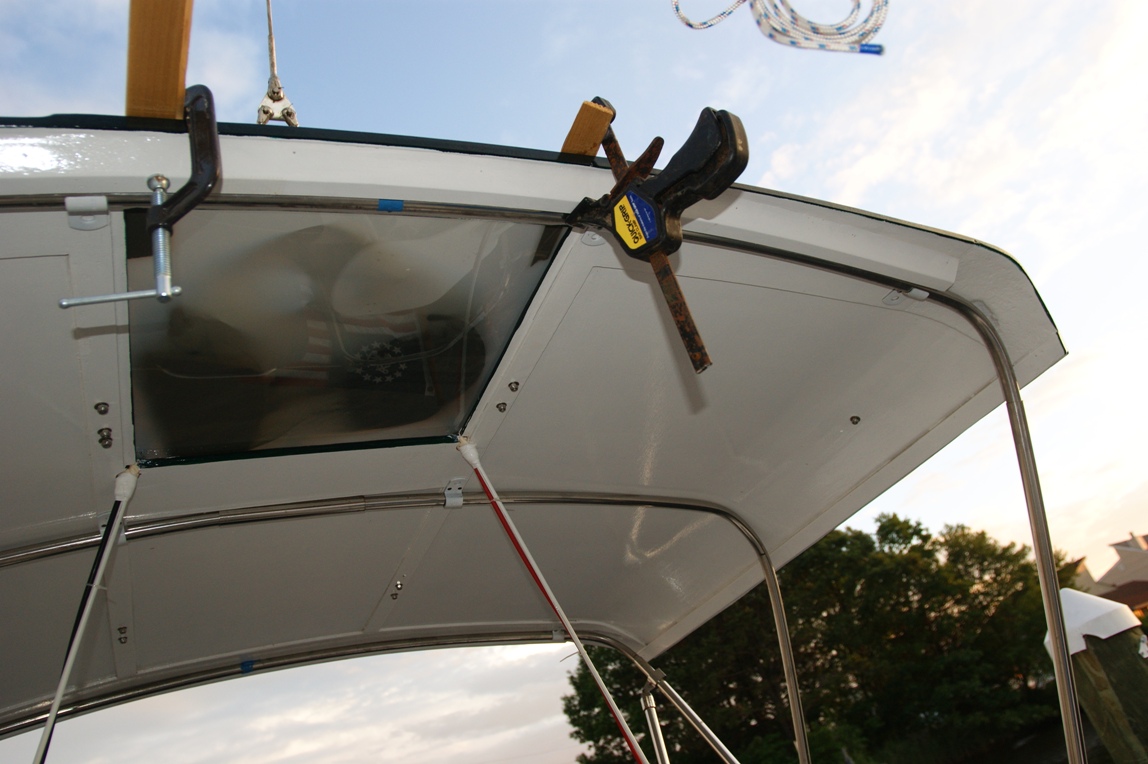
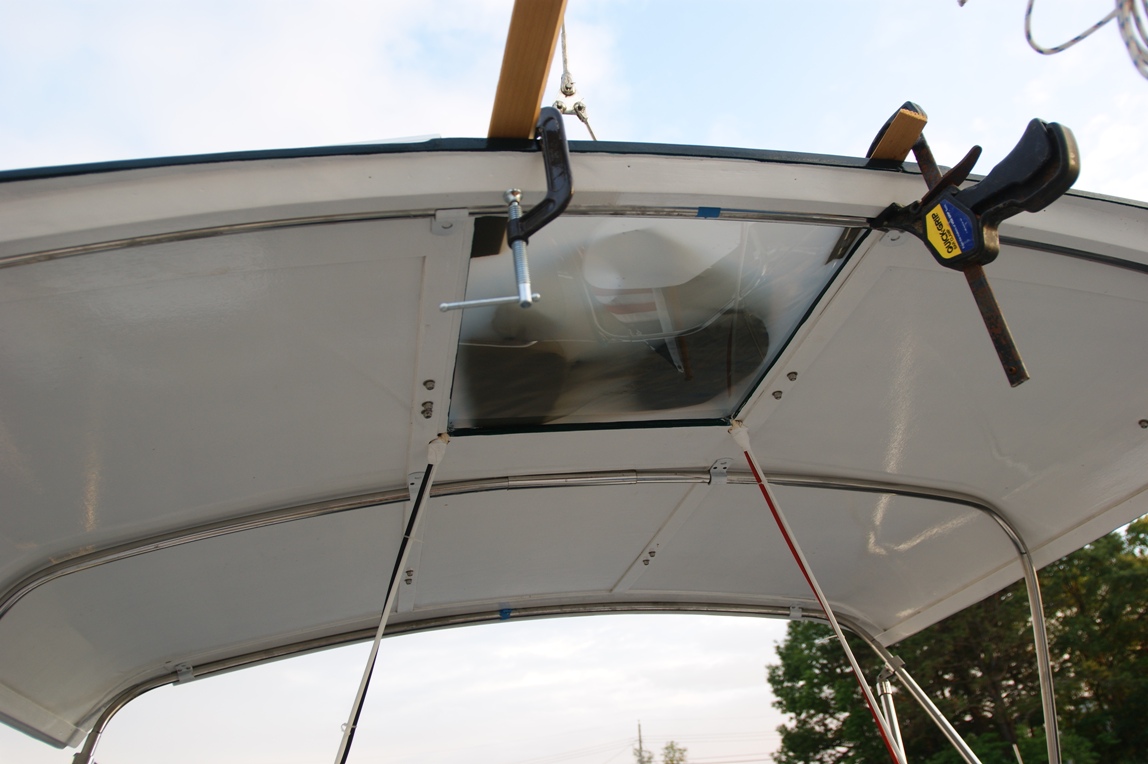
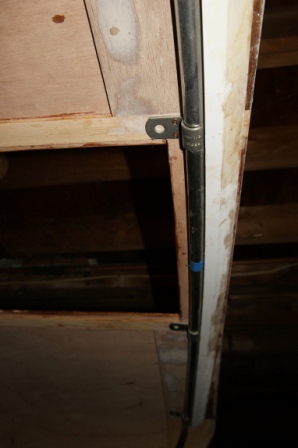
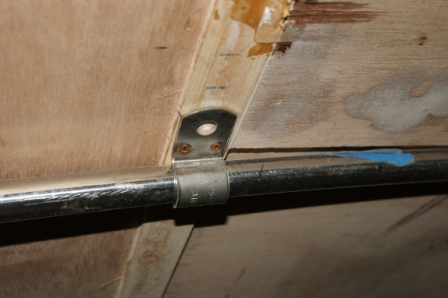
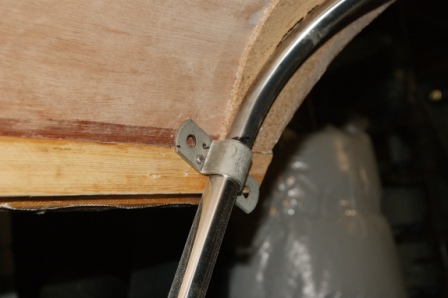
The holes for the backstay where drilled with a 1 1/8th inch hole saw bit, at the same angle as the backstays, and just nicking the corners of the port light window support ledges. Then with a small hand saw, I cut a 1/4" slot in each corner for the backstay to slip through and into the center of the inch and one eighth hole.. After the brackets holding the frame to the top were attached (mounting the top the frame), the frame was secured (braced) to the stern rails in two places each side. These braces allowed us to make minor adjustments in pitch and yaw of top to keep the stays I the center of the holes.
The ¼” Makrolon tell-tail sight port panel is mounted in the opening. I used clamps to hold down the "Lexan" to butyl tape and elastomeric caulk, on the fore end and weight on the aft end (tool bags in a plastic shopping bag). However, I did need to fashion SS hold-down brackets to keep the panel in the frame. The Lexan wanted to return to its flat state but the top was curved. The brackets held it in place. Each solar panel's leads were connected to y-junctions so that only one cable was run down each leg of the backstay and to the charge controller; BlueSky 2512i (25 amp, 12 volt). I also mounted a Victron BMV 602 battery monitor to keep track of the comings and goings of the electrons in the batteries.
|
 The Hardtop Bimini is something I always liked about Ron Minchin's Pearson 35.
Ron built his hardtop Bimini after first building a hardtop dodger. I am
doing the Bimini first so that I have someplace to mount two 140 watt solar
panels. This is not a project for the faint at heart. I started in
February and will be lucky to be done by mid May. The main reason for
delay? ...design as you go. There are so many options and ways to construct a
Bimini hardtop that for someone who needs to weigh all decisions, it can take a
while to process all of the design choices and construction technique. I
used water to help soften the panels so they would accept the frame curvature
better without breaking but that caused a little warp in one panel which had to
be faired out. The panel that did not warp, cracked a little so that
required a little fixing. All of this took time.
The Hardtop Bimini is something I always liked about Ron Minchin's Pearson 35.
Ron built his hardtop Bimini after first building a hardtop dodger. I am
doing the Bimini first so that I have someplace to mount two 140 watt solar
panels. This is not a project for the faint at heart. I started in
February and will be lucky to be done by mid May. The main reason for
delay? ...design as you go. There are so many options and ways to construct a
Bimini hardtop that for someone who needs to weigh all decisions, it can take a
while to process all of the design choices and construction technique. I
used water to help soften the panels so they would accept the frame curvature
better without breaking but that caused a little warp in one panel which had to
be faired out. The panel that did not warp, cracked a little so that
required a little fixing. All of this took time.

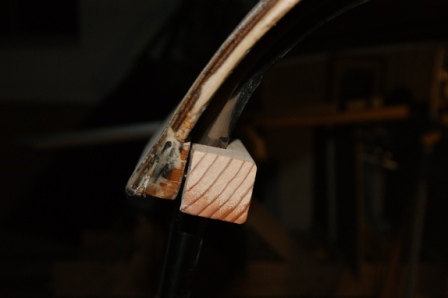
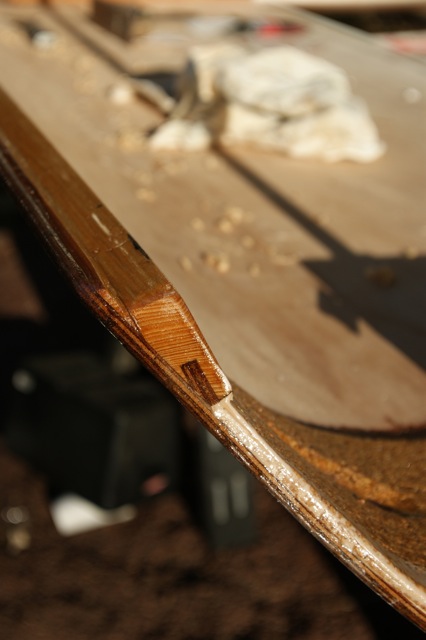


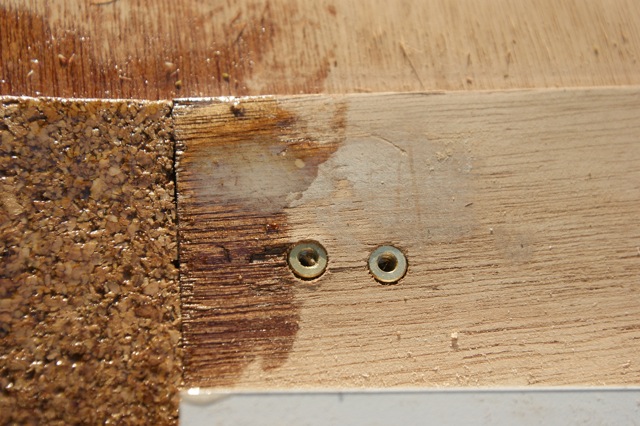 Showing
the brass let-ins going through 2 layers of 1/4 Marine plywood. Cork used
in the corners for flexability.
Showing
the brass let-ins going through 2 layers of 1/4 Marine plywood. Cork used
in the corners for flexability.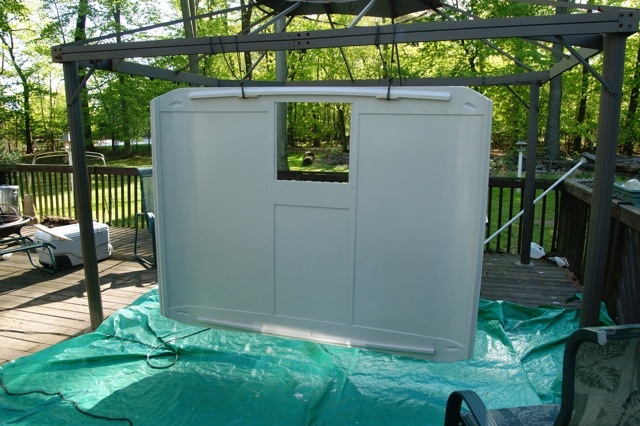 The
fully primed underside. The groves in the corner cork layer allow a more
gradual bend in the plywood. Gradual bends help to avoid breaking the
plywood at the kerf cuts.
The
fully primed underside. The groves in the corner cork layer allow a more
gradual bend in the plywood. Gradual bends help to avoid breaking the
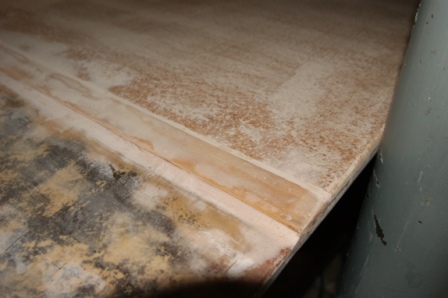
plywood at the kerf cuts.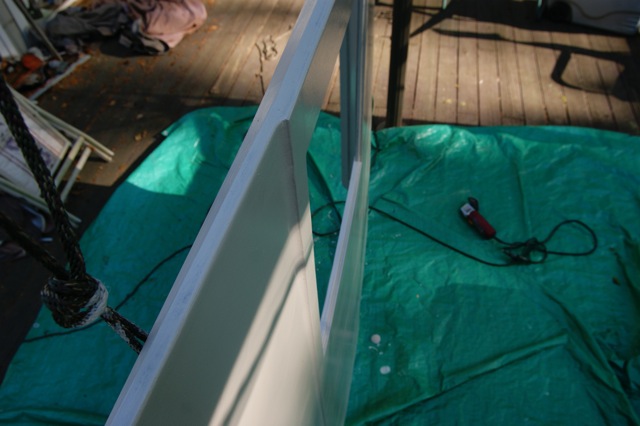 Cove
bead where single layer meets double.
Cove
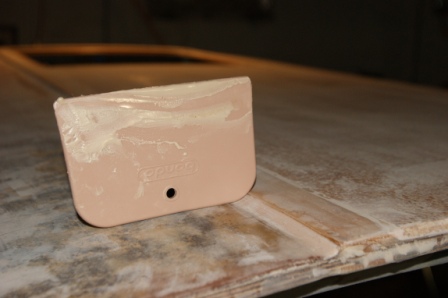
bead where single layer meets double.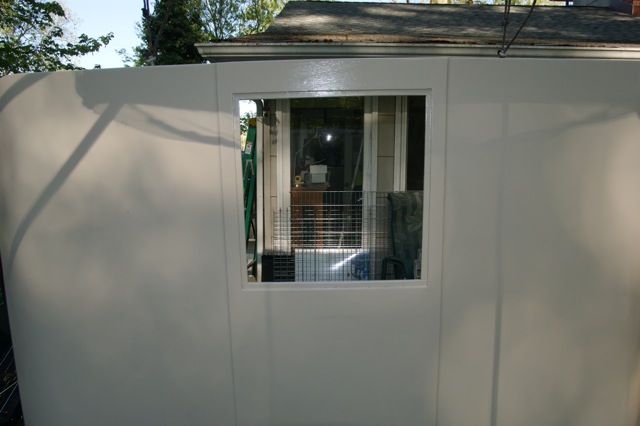 Fully
primed topside
Fully
primed topside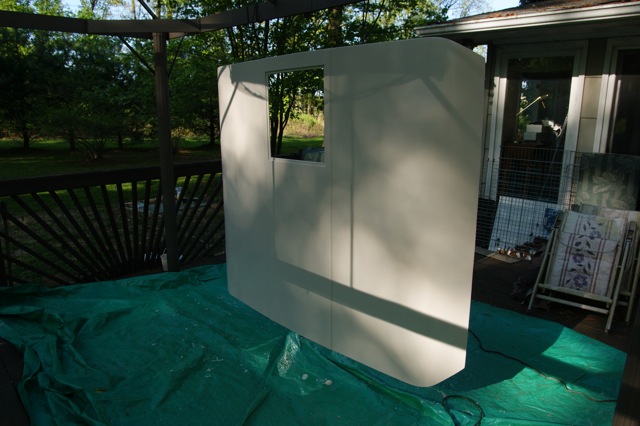 Another
topside view.
Another
topside view.